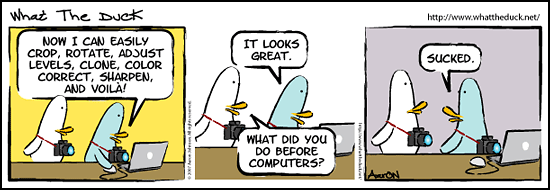
Continuing from the 'Editing The Raw Files' Part 3 post on Sunday June 17th :
11) Once you have completed your 1st edit of the images ( still in Raw Format ) and tagged the keepers, it's time to save the tagged files to your next Desktop Folder. Example: ABCorp_RawEdits. You are now ready to open the images in your Processing Software and see them as they really are, before any adjustments in color or exposure. Once you get familiar with your Raw Processing Software you won't have to keep referring to the Histogram display to judge proper exposure. It goes without saying that to judge color and exposure, you will have to have a high end color monitor that is color corrected with the proper software and screen sensor. I recommend using a LCD monitor for the best color accuracy, with the added benefit of Color Profiles that stay accurate far longer than CRT monitor technology.
Most Raw Conversion Software will allow you to click balance (color correct) your images by isolating an area of medium White or Grey. This will get you in the ballpark if you think the color of the imported images is a little off. Remember that accurate color is not always the best color! You can very easily take the Zing out of an image taken at sunset if you remove a warm color cast in favor of absolute 5000 degree Kelvin. Use your best judgement and apply the same color / exposure adjustment to all the images from the same setup.
More to come...
Tuesday, June 19, 2007
Editing The Raw Files...Part 4
Posted by Edwin Morgan
at
10:08 PM
0
comments
POST A COMMENT
Labels: Accurate Color, First Edit, Histogram, LCD Monitor
Subscribe to:
Post Comments (Atom)


0 comments:
* CLICK HERE TO ADD YOUR COMMENT